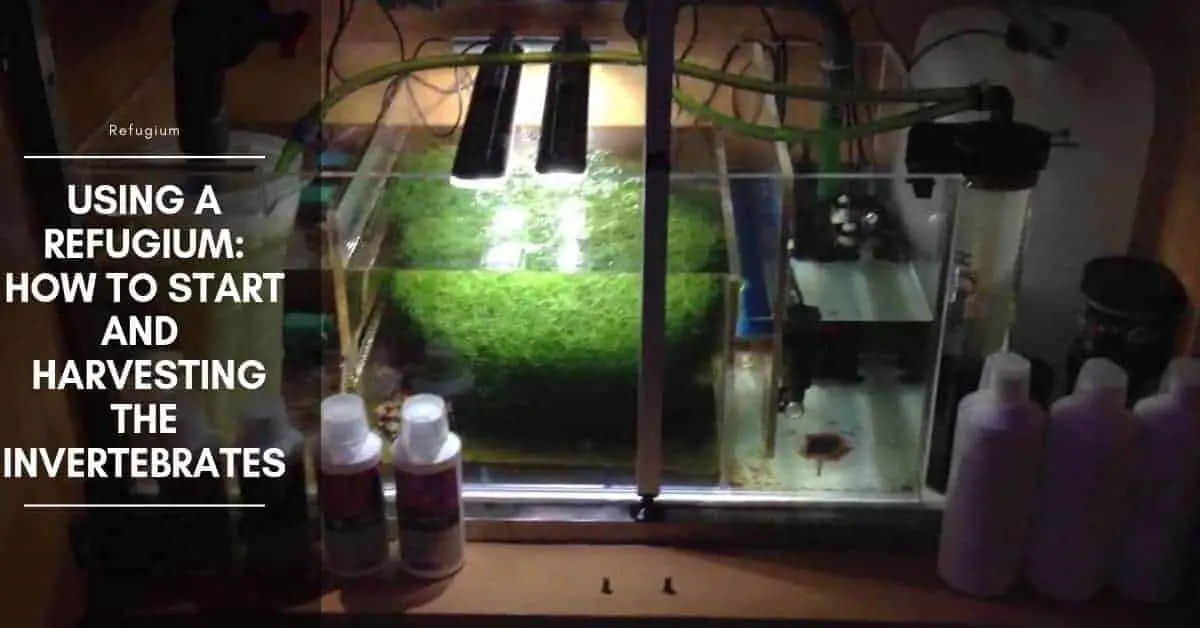
Why people use freshwater refugium with their tanks?
To preserve and provide a robust food chain of invertebrates, the freshwater refugium is highly recommended. For a 5-gallon aquarium with 6 average tetras, for example, the invertebrate population within the aquarium would not likely produce enough food to keep the fish well fed.
A few worms and a few scuds would always survive, but their population density would be so low that the fish would starve without supplemental food. This issue applies to larger aquariums too, unless very low fish densities are maintained.
Looking at this issue another way, the fish would eat the invertebrates faster than the invertebrate birthrate could produce new “recruits.” Even more problematic, the fish would often eat the larger invertebrates first (which are the ones that can reproduce the most prolifically).
What should be the size of the refugium?
A separate 1 or 2-gallon refugium can produce a vast quantity of invertebrates, from Tubifex to scuds, and all the other smaller invertebrates mentioned previously, and it can supply enough live food to support about one or two dozen small fish (like tetras or guppies).
Because a separate refugium does not share the same water like the fish, you can increase the nutrient level in its water above what would be healthy for the fish, but which is still okay for the invertebrates. However, this does not mean that ammonia, nitrite, or nitrate concentrations should be high in the refugium.


API STRESS COAT Aquarium Water Conditioner 16-Ounce Bottle


Tetra AquaSafe Plus, 8.45 Ounces, aquarium Water Conditioner And Dechlorinator, Model Number: 46798162681
$10.19 (as of November 12, 2025 23:00 GMT +03:00 - More infoProduct prices and availability are accurate as of the date/time indicated and are subject to change. Any price and availability information displayed on [relevant Amazon Site(s), as applicable] at the time of purchase will apply to the purchase of this product.)


API TAP WATER CONDITIONER Aquarium Water Conditioner 16-Ounce Bottle
They should all be at zero most of the time, but it’s all right if they occasionally rise. Once the freshwater refugium is broken in, ammonia and nitrite should remain below 1.0 ppm (mg/L) at all times, and nitrate should be less than 10 ppm (mg/L). If levels of these toxins are chronically higher than zero, reproduction rates of the invertebrates will suffer. If you find yourself with this problem, try adding some plants and a little light. Guppy grass (Najas) works well.
Freshwater refugium plants
Here are some of the ideal plants you can add your refugium:
- Vallisneria
- Anubias
- Echinodorus
- Microsorum
- Luffy moss balls
- Java moss
- Fontinalis
Learn how to keep live plants in your Aquarium.
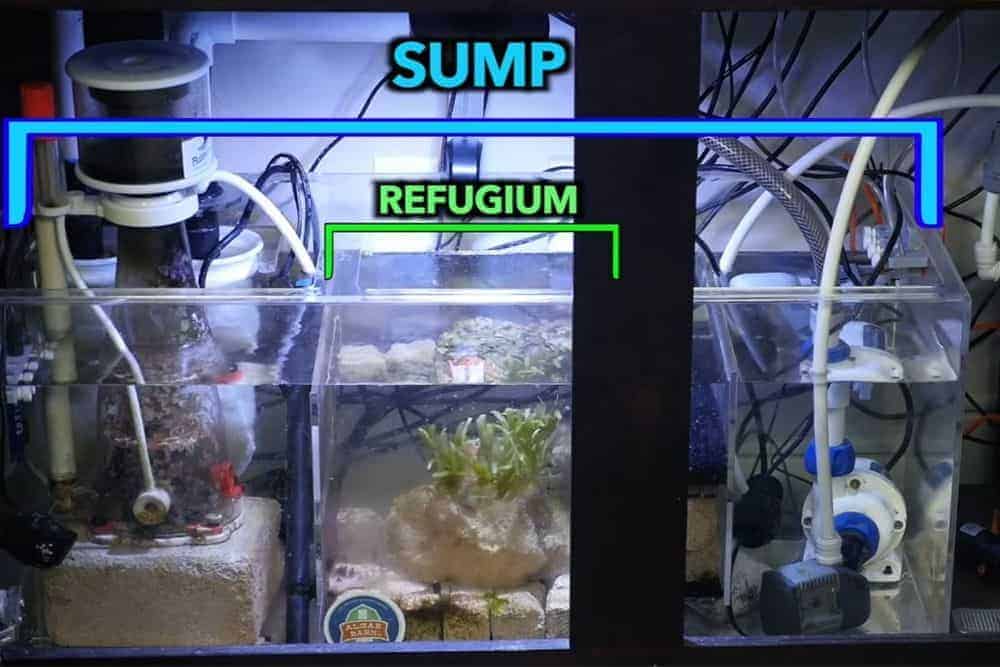
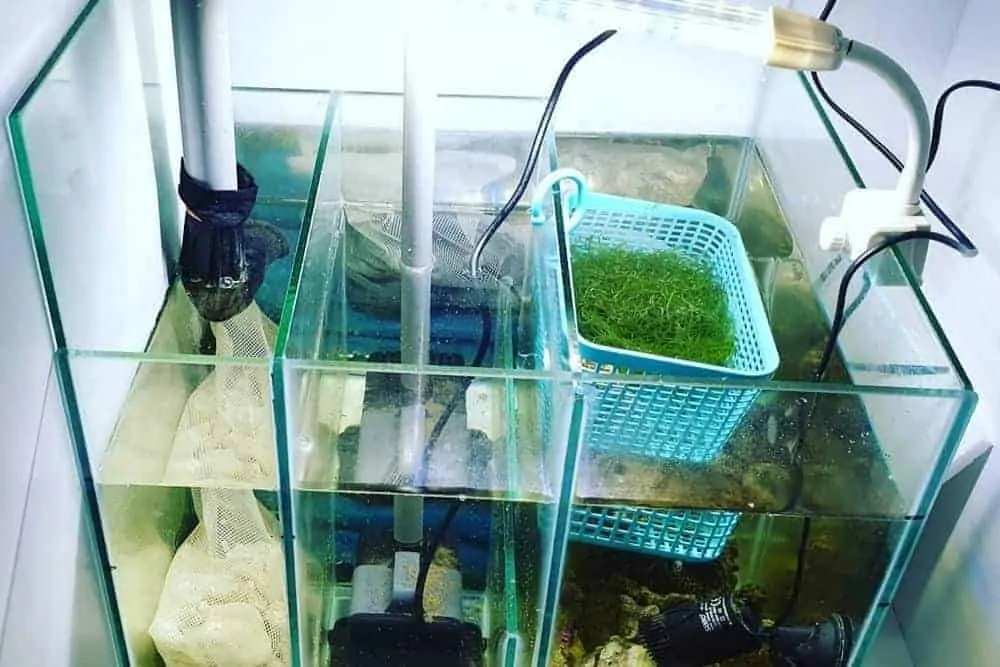
Refugium setup
This is similar to the process of starting the aquarium but a little different. You do not need lighting or water circulation. And as long as the refugium setup is kept indoors and somewhat close to standard room temperature, you will not need any heating.
Here are the steps for diy refugium:
- Start with an empty sturdy plastic container (or an aquarium). [Smaller or larger size containers work too, but at less than a half-gallon (1.5 liters) it becomes challenging.]
- Add one inch (2.5 cm) of pure, clean sand (no limestone). If you add more, it will be okay.
- Add dechlorinated water, enough to provide a few inches of water depth above the sand. If the container tapers to a narrow opening, make sure only to fill it partway. The rate of oxygen exchange between the water and air depends on the surface area of the water in contact with the air, so you’ll want the surface area of the water as large as possible.
- Next, add detritus from your aquarium and slightly mix it into the surface of the sand, pushing it down no more than half an inch (1.75 cm).
- Now, hopefully, you have some extra soil saved from earlier. Take one or two grape-sized clumps of that dirt (which should be relatively dry) and drop them into the refugium. Neither stir that dirt nor evenly distribute it at this point; it needs to stay concentrated to provide a high-quality food source for the invertebrates.
- Add a few Tubifex worms; 50 would be plenty to start with. Also, add a handful of scuds and typical pond snails. A reasonable adult Tubifex worm density to aim for once the substrate is healthy, and high quality is about one per square centimeter, which would come to about three or four hundred in a roughly square-shaped 2-gallon plastic container.
- After no more than one week has passed, gently stir the clumps of soil into the top half-inch (1.5 cm) of sand and then drop in another clump or two (to keep the worms fed). Be careful not to harm the worms; you can use a spoon and move it slowly to let the worms get out of the way. Repeat this once per week, and occasionally test the water quality for ammonia, nitrite, and nitrate. After four or five weeks of doing this, you can double the quantity of soil you add per week, as long as the water quality remains healthy.
- Stop adding soil once the total sediment depth in the container is between two and three inches deep (5 to 7 cm). At this point, you should have a bottom layer of mostly pure sand, above which should be a graduated mixture of sand-to-soil, with the most soil right at the surface. This is the opposite arrangement as the aquarium. The refugium is now ready to produce regular harvests of invertebrates, but you may need to feed them. If you do not feed them, the soil will provide a steady quantity of food to maintain the existing population of invertebrates, but reproduction will not be high.
Harvesting invertebrates
Several methods can work. To harvest suspended invertebrates scoop some water out with a small plastic cup and drop the water into the aquarium. Fish will often eat surprisingly tiny invertebrates.
A small fish can eat a hundred or more micro worms within half an hour. To harvest Tubifex worms and scuds, you can drop a piece of aquarium filter floss (fuzzy plastic matting, often blue) into the refugium. Then after a few days, transfer it to the aquarium. To entice worms and scuds into the matting (which may not be necessary), you can add small bits of high-quality organic matter (especially steamed or boiled vegetable pieces).
Be very sparing with any additional food source you add to the refugium. You may want to create a safe enclosure within the aquarium where you transfer the filter floss, and which will slowly release the invertebrates to the rest of the aquarium water. You can easily do this with plastic needlepoint canvas.
It’s a flexible, slightly rigid plastic mesh with holes that are about a half-centimeter across. Make a cylinder of the canvas, bury one end in the sand or gravel and allow the other end to slightly emerge above the surface of the water.
Baby fish will still be able to get inside, but adult fish won’t. To easily make enclosures with the needlepoint canvas: Cut off a strip of the plastic along one edge of the canvas, making sure that the strip is

Hi, my name is Sean, and I’m the primary writer on the site. I’m blogging mostly about freshwater and saltwater aquariums, fish, invertebrates, and plants. I’m experienced in the fishkeeping hobby for many years. Over the years I have kept many tanks, and have recently begun getting more serious in wanting to become a professional aquarist. All my knowledge comes from experience and reading forums and a lot of informative sites. In pursuit of becoming a professional, I also want to inspire as many people as I can to pick up this hobby and keep the public interest growing.
Read more about Sean.
Please join also my Facebook group.